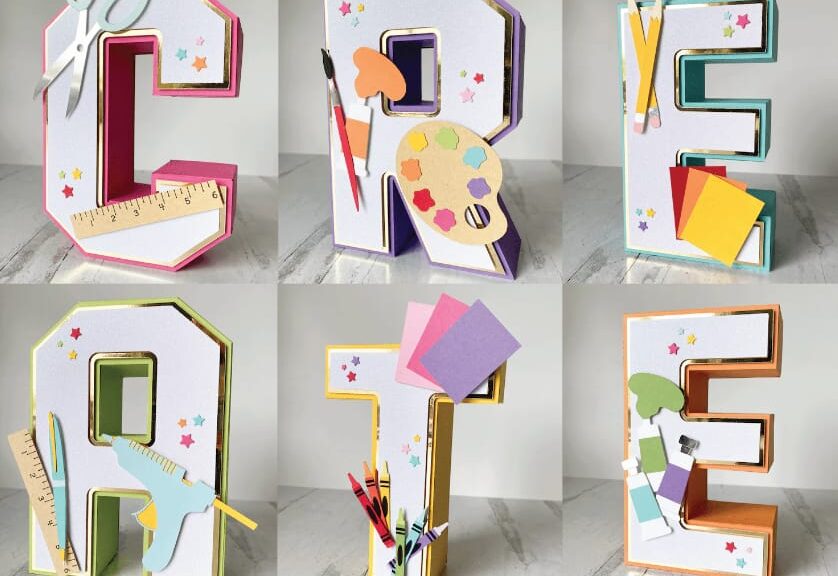
6 Steps to Create Custom 3D Letters with a Personalized Message
When making a statement, whether it’s for a special occasion or a business promotion, 3D letters have become a popular choice. These three-dimensional letters can be customized to convey a personalized message, making them a unique and eye-catching way to communicate.
In this post, we’ll take you through the six steps to create custom 3-dimensional letters with a personalized message that will leave a lasting impression.
What are 3D Letters
Before we look at the process, let’s quickly explain what 3-dimensional letters are. They are three-dimensional characters or logos that are designed to stand out from the usual flat, two-dimensional signage.
They can be made from various materials, such as acrylic, metal, or wood, and can be customized to fit any theme or style. These letters are often used for business signage, event decorations, and even as a unique gift.
Step 1: Determine the Purpose and Message
The first step in creating custom 3D letters is to determine the purpose and message you want to convey. What is the occasion or event? What do you want to say? Who is your target audience?
Answering these questions will help you decide on the design, material, and size of your letters. For example, if you’re creating 3-dimensional letters for a wedding, you may want to choose a romantic font and a soft, pastel color scheme.
Step 2: Choose the Material and Design
Once you have a clear idea of the purpose and message, it’s time to choose the material and design for your letters. As mentioned earlier, these letters can be made from various materials, each with its own unique characteristics.
Acrylic three-dimensional letters are lightweight and easy to install, while metal ones are more durable and can fight outdoor weather conditions. You can also choose from a range of design options, including font styles, colors, and finishes.
Step 3: Measure and Scale the Letters
To ensure that your letters fit perfectly in the desired space, you need to measure and scale them accurately. Take precise measurements of the area where the letters will be installed.
Additionally, you can use design software or consult with a professional to scale the letters accordingly. This step is crucial to avoid any mistakes or errors during the production process.
Step 4: Design and Prototype the Letters
With the measurements and design in place, it’s time to create a digital design and prototype of your 3-dimensional letters. You can use computer-aided design (CAD) software or work with a professional designer to create a 3D model of your letters.
This step allows you to visualize the final product and make any necessary changes before moving on to production.
Step 5: Produce the 3D Letters
Once you’re happy with the design and prototype, it’s time to produce the three-dimensional letters. Depending on the material and design, this step may involve cutting, shaping, and assembling the individual letters.
You can work with a professional manufacturer or DIY if you have the necessary skills and equipment.
Step 6: Install and Display the 3D Letters
The final step is to install and display your custom letters. Make sure to follow the manufacturer’s instructions for installation, and consider hiring a professional if you’re not comfortable with the process.
Finally, step back and admire your unique and personalized letters, proudly displaying your message to the world.
Conclusion
By following these 6 steps, you can create custom 3D letters with a personalized message that will leave a lasting impression. Whether it’s for a special occasion or a business promotion, these letters are a unique and effective way to communicate your message.